
Presents for little boys
Now I can finally reveal some of the things I made for Christmas! There were a lot of little boys in my gift list this year.
Ottobre 1/2016 Koala jumpsuit and Multistripe body
I found this lovely lion motif jersey fabric and thought it would suit perfectly for my six-month-old nephew. Once again I got out my Ottobre 1/2016 magazine which seems to have one of the best selection of basic garments for children. I am sure that I have made at least 7 different patterns out of this issue!
The pattern 1. Multistripe is a simple raglan-sleeved body. The front part is completely straight which makes sewing a bit easier than in a regular body. The back has a horizontal seam that saves fabric. That seam doesn’t seem to have any other purpose, so it can be left out if you have a bit extra fabric available.
After making the body I still had some scraps left of the lion fabric and I felt like a whole outfit might be a nicer gift. I quickly traced the 4. Koala jumpsuit from the same magazine issue. I used a little piece of the lion fabric to make the pocket for the jumpsuit and used matching mustard yellow jersey for binding the edges.
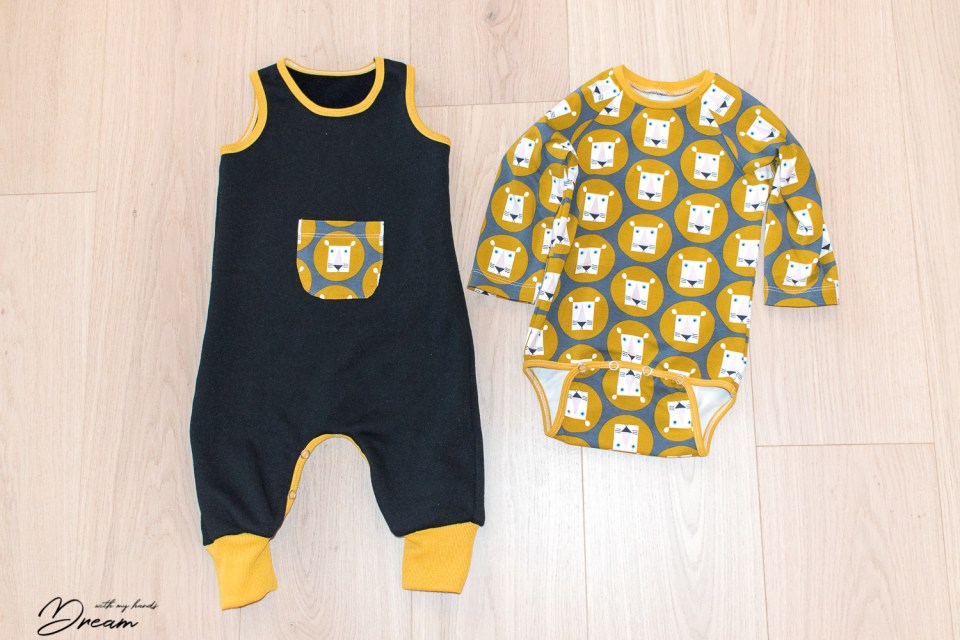
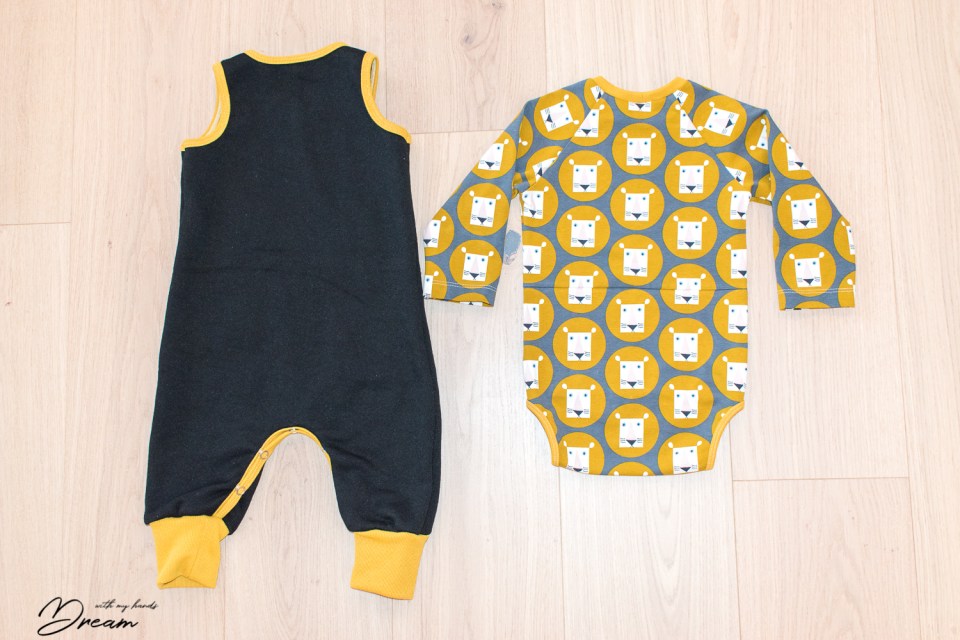
When I had babies I found this kind of garments with snaps at the crotch very nice. I had plenty of jumpsuits like this for my babies and I hope my little nephew will enjoy wearing these while he learns to crawl.
Ottobre design jersey shirts
My friend gave me this Pupu Tupuna printed jersey fabric to make something for her son. Pupu Tupuna is a character in a popular Finnish children’s book series and I remember loving it as a child.
This pattern was 1/2015 11. Smart Guitars. Due to the dropped shoulders this was super easy to make since I didn’t have to do much easing to get the flat sleeve caps fit into the armholes. The neckband was done with the help of the binding attachment in my coverstitch machine.

I made cute little label out of the faux leather paper to decorate the hem. This time I did not use my inkjet printer but fabric stamps I got from Lidl:

The other top I made was this

Unfortunately, I already ditched the pattern I was using for this, so I don’t remember the exact Ottobre design magazine the pattern is from.
This sweatshirt got also the faux leather paper label.
I hope that the packages I sent all across the Atlantic will arrive safely!

Now that Christmas is over, my head is spinning with dozens of ideas on what to make next. I found lovely softshell fabric that I am going to use to make myself a pair of warm outdoor trousers. I also found lots of lovely stretch lace to turn into new sets of underwear. And there are still many lovely patterns to test!
If you are interested in reading more about these and my other future makes, do subscribe if you haven’t already done so. And while planning your sewing for the year 2019, you might be interested in buying my Sewist’s planner 2019! It’s also available in Finnish.

This is all for today! Thank you for reading, happy sewing and see you soon!
Katja
Share this:


5 Comments
Janet
These are gorgeous. I love the little lion pocket on the front of the dungarees – my nephew would go mad for that!
kk
Thanks! I just got a picture of my nephew wearing the dungarees and he looks happy. And they fit very nicely!
PAMELA MEROUCHI
Hi, I’ve just discovered your blog and am very impressed with your makes. I tried several times to make the vest top from Ottobre and never managed to get the bias binding on the bottom right. It was wavy every time – so annoying! Do you have any tips on how to apply it successfully? Thanks
kk
I assume you are talking about the kind of binding I used and not actual bias binding that is woven? The wavy binding usually means that you have accodentally stretched the fabric edge. You should be very careful to only stretch the binding itself. Practise with some scraps until you get it right!
Pamela Merouchi
Yes, I was referring to the jersey binding you put on the lower edge of the vest. Thanks for your answer!