
My first lined Blazer (Burda 08/2013 106A)
It’s been almost a year since I made this blazer, but I totally forgot to post it here. The pattern was Burda 08/2013 106A. You can also download it online by clicking here. I had never made a lined blazer before, so it was very convenient for me that this pattern came with in depth sewing instructions and step-by-step diagrams! The sizes range from European 34 to 44.
I liked the style immediately. I am not really comfortable with the men’s jacket type notched collar blazers and long lengths that make me feel like I’m drowning in the jacket. This more relaxed style suits me better. Furthermore I wanted a jacket that can be worn open without it looking too big.
I used grey stretch wool suiting as a main fabric. For the lining I used normal acetate lining fabric for the bodice and light grey stretch lining for the sleeves that were otherwise too narrow for a non-stretch lining.
Sewing this jacket was quite easy with the in-depth instructions. I tried to concentrate on the details to get a really professional look. However, I think I could make the fit better if I made the blazer now. I always have problems with the Burda patterns being way too big compared to the sizing chart. Especially this is due to the armscyes and the sleeves. I had to adjust the sleeves and the armscyes several times in order for them to fit better. I also made my own shoulder pads since I happened to have a lot of soft fleece lying around that suited the purpose.
Finally I am quite happy with the sleeves. They are just wide enough for me to move comfortably but still have the slim look I wanted.
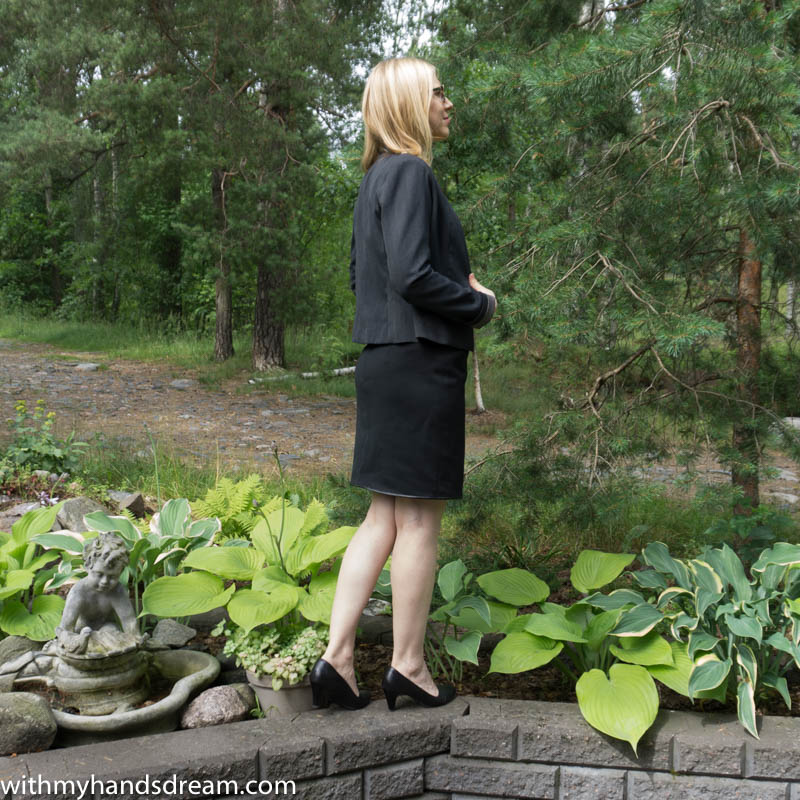
The back fits well and I think looks flattering on me. I can wear the jacket well with a pencil skirt, for example this one, I finished only a few weeks ago.

What surprised me was that the waist came out a little too tight. Partly this is intentional since I really wanted to make the blazer look good when it’s worn open. I can close the button but it tends to pull the fabric into wrinkles. The next time I’ll have to cut a bigger size at the waist level.

I think that these small details really make the blazer. The buttonhole is hidden in the seam. I chose to use an old leather covered button that may have had previous use in a couch or something similar but suits the look perfectly.

From the inside the hidden buttonhole turns into a bound buttonhole:

While was tinkering with the details I thought, why not add one extra. So I added an inside breast pocket to store whatever valuables I want to carry around.

I can totally recommend this blazer pattern to anyone that needs one and likes the look. Especially if you want more in-depth instructions and haven’t made a blazer before.
I am currently slowly but steadily making progress with my trench coat. I made the toile and several adjustments with a help from my sewing guru Michele. (Hello, Michele!) Now I have gotten so far that I have cut the fabric and I can start sewing. After this coat project I think that even my future blazers will fit much better!
Thank you for visiting my blog and see you soon! Happy sewing!
Share this:


You May Also Like

My moneta dress

10 Questions challenge
